
Last updated October 16, 2026
 Wrought iron
 Wood & steel frame
 Farm & ranch
 Sliding driveway gates
Free on-site gate assessment - hinges, posts, and your LiftMaster or Nice gate operator checked before anything is quoted
The assessment is free and the quote is the invoice.
Get your free estimateGate Repair Maintenance Checklist for Los Angeles Homeowners
Most gate maintenance checklists are written for the Midwest. They assume rain rust is your biggest enemy, that freeze-thaw cycles wreck the concrete, and that a good coat of grease solves most problems. None of that describes Los Angeles. Here, a gate that passes a generic inspection can still be six months from failure because our specific stressors are different: months of unbroken UV that bakes powder-coat until it micro-cracks, post-fire ash that settles into chain drives like fine sandpaper, and the slow seismic creep under our soil that quietly racks a gate frame out of square. This checklist is built around those real conditions, organized by what you check monthly, quarterly, and annually, with plain explanations of what you’re actually looking for and why it matters here.
Quick Answer
A Los Angeles gate maintenance checklist should be organized by cadence: monthly checks for chain tension, operator sound, and safety sensor function; quarterly checks for hinge wear, post movement, and finish degradation from UV exposure; annual checks for racking, gear oil condition, and a full UL-325 entrapment protection test. Most owner-level maintenance is lubrication, cleaning, and observation; sensor testing follows a safe at-home procedure, but any racking, motor drive wear, or hinge looseness is a Gate Repair services job.
Styles & brands we work with
Table of Contents
- Monthly Gate Maintenance Tasks
- Quarterly Gate Maintenance Tasks
- How to Inspect a Gate for Racking
- UV and Heat-Specific Checks for Gate Finishes
- UL-325 Entrapment Protection Sensor Testing
- What to Lubricate Yourself and What Needs a Technician
- Annual Gate Maintenance Tasks
- Common Mistakes to Avoid
Monthly Gate Maintenance Tasks
Monthly checks are about catching changes early, before a small issue becomes a gate repair in Los Angeles that requires a truck roll. Each of these takes between ten and twenty minutes, and none of them requires disassembling anything. Start at the gate leaf and work toward the operator.
- Listen to the operator. Run the gate open and closed twice. The motor should sound smooth and consistent: a single steady hum with no grinding, clicking, or hesitation. A change in sound from last month is the earliest warning sign of a failing capacitor or worn gear. If it sounds strained on the second cycle, note it.
- Watch the gate speed. Does the gate move at the same pace across its full arc? Slowing near the end of travel usually means drag on the hinges or wheels, not a motor problem. Slowing at the start means the operator is working too hard against a gate that is no longer sitting square.
- Check chain tension. On chain-drive operators, press the chain at its midpoint between the sprockets. It should deflect no more than about half an inch. A slacker chain skips teeth and wears the sprockets; a tighter chain stresses the gearbox. Chain stretch is normal over time, but in LA’s dry heat, links also wear faster when dust gets into the pins.
- Clear debris from the track. Leaves, loose gravel, palm fronds, and the fine grit that blows off our hillsides all land in slide-gate tracks. Run a gloved hand along the track and pull out anything that doesn’t belong. Pay special attention after any Santa Ana wind event.
- Look at the safety photo eyes. Many automatic gates use infrared photo eyes mounted near the bottom of the gate posts. Dust films over the lenses quickly in LA. Wipe them with a dry cloth each month. If either lens is cracked or clouded, the gate may fail its next safety test.
These five tasks catch most of what goes wrong before it becomes a $400+ service call. They also give you a baseline of what “normal” sounds and looks like on your specific gate, which makes it much easier to notice when something drifts off baseline.
Quarterly Gate Maintenance Tasks
Quarterly work moves beyond observation into light physical interaction: touching, rocking, and wiping things down. This is the cadence where you catch hinge wear, post movement, and finish failure before any of them become structural.
- Rock the gate in its closed position. Put one hand on the top rail and push it forward and back, parallel to the fence line. Any movement beyond a fraction of an inch means the hinges have play. On swing gates that weigh several hundred pounds, loose hinges transfer all that force into the operator and the post.
- Inspect the hinge bolts and welds. Look closely at each hinge with a flashlight. Surface rust at the bolt heads is the first sign of moisture getting in. On welded steel gates, examine the weld points for hairline cracks. In Los Angeles, the daily thermal expansion and contraction from hot days to cool nights works on weld fatigue just as surely as freeze-thaw does elsewhere.
- Wash the gate. Use a mild car-wash soap and a soft brush. This is not about looks: airborne salts from our coastal air, dust from construction, and occasional ash from wildfire season all sit on the finish and hold moisture against the metal. A clean gate is a gate that doesn’t rust from under the dirt. Rinse thoroughly and dry it.
- Check the post bases. Look at the concrete or soil line where each post meets the ground. New cracks in the concrete pad, visible gaps between the steel post base plate and the concrete, or a post that looks like it’s leaning even slightly are all signs that soil movement is underway. This matters more in LA than in most places, and the next section explains why.
- Operate the manual release. Every automatic gate has a manual disconnect: usually a keyed lock and a pull handle on the operator. Quarterly, unlock it and test that the gate swings or slides freely by hand. This verifies two things: the gate isn’t binding, and the manual release itself still works when you actually need it during a power outage.
How to Inspect a Gate for Racking
Racking is the slow drift of a gate out of square. The top rail drifts forward or back relative to the bottom rail, so the gate looks slightly twisted when closed. It is not a cosmetic issue. A racked gate binds at the hinges, works the operator twice as hard, tears up wheel bearings on slide gates, and eventually cracks welds. In Los Angeles, racking happens faster than in most regions because our clay-dominant soils expand and contract with seasonal moisture, and because even small seismic events, the ones you don’t feel, settle fill dirt under posts unevenly.
Here’s how to check for racking in about five minutes:
- Close the gate and stand at the latch end. Look down the top rail with one eye closed, like sighting a rifle. The top rail should run perfectly straight in one plane. If it dips or bows, the gate has racked or the rail itself has sagged.
- Measure the diagonal. On a swing gate, measure from the top hinge corner to the bottom latch corner, then from the bottom hinge corner to the top latch corner. The two measurements should match within a quarter inch. A larger difference means the frame is out of square. On a slide gate, do the same check across the gate panel itself.
- Check the latch alignment. Close the gate but don’t latch it. The latch tongue should sit centered in its receiver. If it sits high, low, or to one side and you haven’t changed anything, the gate has moved. That movement is racking, not a latch problem.
- Look at the gap between the gate and the post. Walk along the hinge edge. The gap should be consistent top to bottom. A bigger gap at the top than the bottom means the post is leaning or the hinge has worn.
If you find racking, don’t adjust the operator to compensate. Adjusting the operator’s limits or force settings to work around a racked gate just masks the problem while the frame continues to twist. The proper fix is re-squaring the gate, resetting the posts if they’ve moved, and then re-hanging the gate. That is a technician job. It requires lifting the gate off its hinges, checking the posts with a level in two planes, and often re-bedding posts that have shifted in softened soil. We routinely see racked gates in hillside neighborhoods like Mount Washington and Baldwin Hills, where drainage patterns and slope creep make post movement nearly inevitable over a five-to-ten-year span. For a full breakdown of what to watch for, see our guide to Gate Repair Warning Signs: A Los Angeles Homeowner’s Reference Guide.
UV and Heat-Specific Checks for Gate Finishes
Most gate finish failures in Los Angeles start invisibly. The powder-coat or paint looks fine from a distance, but the surface has begun to micro-check: a network of hairline fissures too thin to see without direct sunlight at a low angle. Once those cracks open, they hold tiny amounts of moisture. The steel underneath starts to rust. By the time the rust shows through as an orange stain, the section usually needs stripping and re-coating, not touch-up.
Southern California’s UV index is among the highest in the continental U.S., and it works on finishes 365 days a year. Powder-coat degrades through a process called chalking: the binder in the coating breaks down from UV radiation and releases pigment, which is why an older black gate looks faded and leaves a chalky residue on your hand. Chalking is the finish telling you it has lost its protective integrity.
Quarterly, run this finish check:
- Low-angle sunlight check. In the late afternoon, when the sun is low, stand close to the gate and look across the surface, not straight at it. Hairline cracks and micro-checking become visible as a faint web of lines in raking light.
- Chalk test. Rub a dry finger across an inconspicuous area of the finish. If it comes away with color on it, the coating has chalked and lost its seal.
- Edge inspection. Rust almost always starts on edges, inside corners, and cut ends where the metal was exposed during fabrication. Check the bottom rail, the inside of the hinge corners, and any drilled holes for bolts or accessories.
- Hardware check. The lag bolts, hinge pins, and latch components are almost never powder-coated. They’re plated or bare steel. In coastal neighborhoods like Playa del Rey or San Pedro, salt air gets into this hardware and causes surface rust within a year. A light coat of corrosion inhibitor on exposed hardware heads, wiped on quarterly, prevents most of it.
Heavy heat also matters for operators mounted on the gate or on a pad in direct afternoon sun. Motor housings in areas like the San Fernando Valley, where summer temperatures regularly pass 100, can reach 140 degrees on the exterior. Most operators have thermal overload protection that shuts them down when they get too hot inside. If your gate intermittently refuses to operate on very hot afternoons but works fine after sunset, the operator is hitting its thermal limit. That’s not a failure; it’s the equipment protecting itself. But repeated thermal trips shorten the life of the control board and the capacitor. Housing the operator under a shade cover, when possible, or painting the control box a light color on a black-top driveway, will noticeably reduce heat-related shutdowns.
UL-325 Entrapment Protection Sensor Testing
UL-325 is the national standard that governs automatic gate operator safety. It requires that every automatic gate have at least one type of entrapment protection: either a monitored photo eye system or a contact sensing edge. The standard is written in the memory of actual deaths and serious injuries, and the specific test procedures below are what technicians perform on every electric gate repair in Los Angeles. They are safe for a homeowner to run as long as you follow them exactly and keep your hands away from pinch points.
Photo eye test: Open the gate fully. Stand outside the gate’s path and block one photo eye beam with a piece of cardboard. Press the close button or remote. The gate should refuse to close and will usually beep or flash a warning. Remove the cardboard. Repeat for the other eye. If the gate closes even with the beam blocked, the photo eyes have failed or been bypassed. Do not use the gate in automatic mode until a technician corrects it.
Contact edge test: If your gate uses a sensing edge instead of, or in addition to, photo eyes, open the gate and locate the edge strip that runs along the leading edge of the gate leaf. With the gate open and in motion toward closing, press firmly against the center of the edge strip with the side of your fist. The gate should stop and reverse within a second. It may also sound an alarm. Repeat at three points along the edge if you can reach them safely. If the edge doesn’t reverse the gate, the sensor is dead or was disconnected.
Force sensitivity test (for operators with inherent obstruction detection): Open the gate, then have a helper place a solid, soft object like a plastic trash can filled with water at the point where the gate would strike it mid-close. Run the close cycle from a safe position. The gate should contact the object and reverse. If the gate keeps pushing until you stop it manually, the force setting is too high.
Run these tests at least annually, and immediately after any gate repair, operator replacement, or change in gate weight (like adding wood slats or a new panel). If you’re unsure whether your project needs city approval, read our guide on Gate Repair Permits, Codes & Inspections in CA: What You Need to Know. If any test fails, stop using the automatic operation and run the gate manually until a technician resolves it. UL-325 compliance is not a negotiable preference; it’s the difference between a gate that stops when it touches a child and one that does not.
What to Lubricate Yourself and What Needs a Technician
Most gate failures we see from “too much maintenance” are the result of the wrong lubricant applied to the wrong part. Grease is not one thing. Chain drives, screw drives, hinges, and slide tracks each need a specific product, and using the wrong one can actually accelerate wear by attracting dust and forming an abrasive paste. Los Angeles’s dry, dusty conditions make this worse: anything tacky acts as a dust magnet, and that dust is the enemy.
Chain drives: Use a dry-film chain lubricant or a light machine oil designed for chains, not wheel-bearing grease. Spray or drip it onto the inside of the chain links while rotating the chain by hand. The goal is to lubricate the pins inside the links, not to coat the outside of the chain in a wet film. Wipe off any excess. A chain that looks “wet” after lubrication is a chain that will collect dust and become a grinding paste within a month in LA.
Screw drives: Screw-drive operators use a threaded rod that the carriage rides along. These need a specific screw-drive grease: a medium-weight lithium grease. Most operator manufacturers sell their own small tubes for their specific units. Apply a thin bead along the screw thread and run the gate through a full cycle to distribute it, then wipe away anything that squeezes to the ends. Never use spray lubricants on a screw drive; they run off and leave the thread dry within days.
Hinges: Regular door hinges on a swing gate carry far more load than any door hinge. They should get a few drops of machine oil or a spray white-lithium grease on the pins quarterly. But do not just oil them and walk away. Inspect the hinge for play first, as described in the quarterly section. Lubricating a worn hinge quiets it temporarily and hides the problem, but the wear continues. A hinge that clunks even after oiling needs replacement, not more oil.
Slide gate wheels and track: Keep the track clean and dry. Do not lubricate slide gate wheels or the track surface; the wheels are meant to roll on clean metal or concrete, and lubricant on the track causes the gate to slide instead of roll, which skids rubber wheels flat. The wheel bearings themselves are sealed. If a wheel squeaks, the bearing has failed, and the wheel needs replacement.
What needs a technician: Any lubrication task that requires opening the operator housing. Modern operators from FAAC, BFT, Linear, and Viking have internal gearboxes that are sealed or semi-sealed. If the oil inside a gearbox needs changing, the cover needs to come off, and that’s a job for someone who knows the specific unit. Opening the housing also voids most manufacturer warranties if done by a non-certified owner. If you hear a grinding from inside the housing, don’t attempt to lubricate it yourself. Call a technician who has worked on that brand. We service all four of these manufacturers, among others, which means the technician who arrives already knows which gearbox oil the unit takes and where the fill and drain points are.
Annual Gate Maintenance Tasks
Once a year, spend a full hour on the gate and treat it as its annual physical. This is the time to do the full sensor test, the racking check, the finish inspection, and the lubrication work described above, and then look at a few additional items.
- Inspect all electrical conduit and wire connections. At the operator and at any external junction boxes, check that conduit is intact, fittings are tight, and no wire insulation is exposed. In LA, PVC conduit exposed to direct sun becomes brittle and cracks after enough UV exposure. Pack rats and squirrels also chew wiring in canyon neighborhoods; look for tooth marks on insulation.
- Test the battery backup, if installed. Most operators with battery backup have a test button or a self-test cycle. If yours doesn’t, disconnect the operator from line power at a safe breaker and run the gate. It should operate at reduced speed. If it doesn’t operate at all, the battery has failed.
- Check the operator mounting bolts. The four to six bolts that hold the operator to its pad or the gate to its hinges take cyclic stress every single time the gate moves. A socket set and ten minutes once a year to confirm every bolt is tight catches a loose operator before it shifts and wrecks its own gears.
- Grease the operator drive chain (if separate from the gate chain). Many operators have a short internal or external chain connecting the motor to the drive sprocket. This chain is inside the housing on most units and is not user-serviceable. On units with an external chain, apply the same dry-film chain lubricant you use on the main gate chain.
- Review the gate’s overall alignment. Stand back and look at the whole installation: gate, posts, operator, track. Anything visibly leaning, sagging, or twisted should trigger a service call. This annual look at the total picture is often when homeowners first notice that a post has moved half an inch since last year.
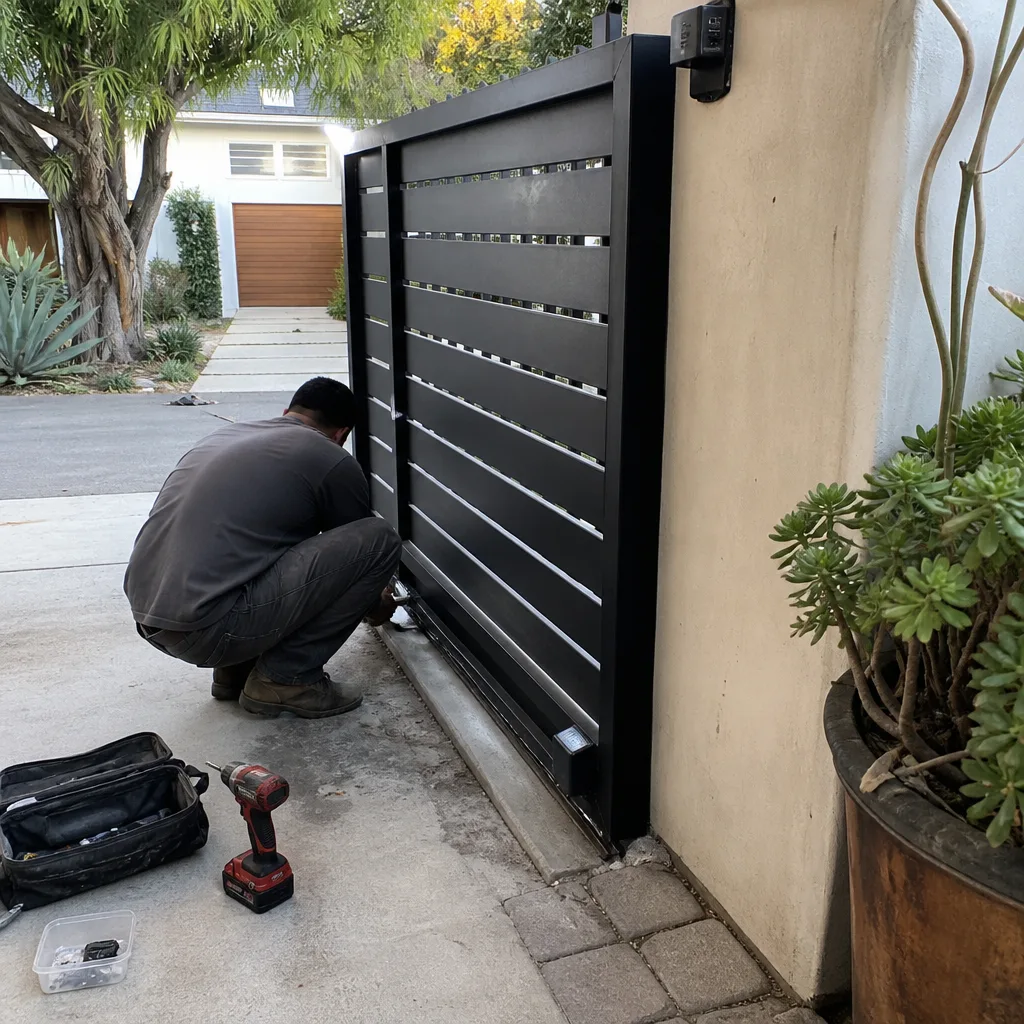
If you find anything in this annual pass that you’re not comfortable addressing yourself, our gate installation and repair team in Los Angeles handles full inspections and can tell you honestly which items need attention now and which can wait. Estimates are free, and the price is written down before anything is disassembled.
Common Mistakes to Avoid
- Lubricating the gate track. Slide gates are designed to roll. Greasing the track causes the wheels to skid, flat-spotting them within weeks, and attracts a layer of dust that turns into grinding compound. Keep the track dry and clean instead.
- Using WD-40 on everything. WD-40 is a water displacer, not a long-term lubricant. On chains it strips away the proper lubricant layer. On hinges it provides a few days of relief before the pin runs dry again. Use the right product for the right part.
- Ignoring a noisy gate once it quiets down. A gate that made noise and then went quiet didn’t fix itself. It usually means whatever was loose or dry has now broken or seated into a worse position. Investigate the source of any noise change.
- Adjusting the operator force settings to compensate for a stiff gate. When a gate gets harder to move because of hinge wear or racking, homeowners sometimes raise the force limit so the operator pushes harder. This turns a mechanical problem into a safety hazard: the operator is now strong enough to injure someone if entrapment protection fails.
- Waiting until finish failure is visible. By the time rust blooms through the powder-coat, the steel underneath has been corroding for months or years. Address chalking, micro-cracking, and edge rust when you first spot them. Early touch-up is a fraction of the cost of strip-and-recoat.
- Running the safety sensor test only once a year. UL-325 testing should happen annually at minimum, but after any power surge, storm, or earthquake in Los Angeles, run the tests again. A small seismic jolt can misalign photo eyes, and a power surge can kill a control board’s safety logic without killing the motor drive.
See the difference
 Before
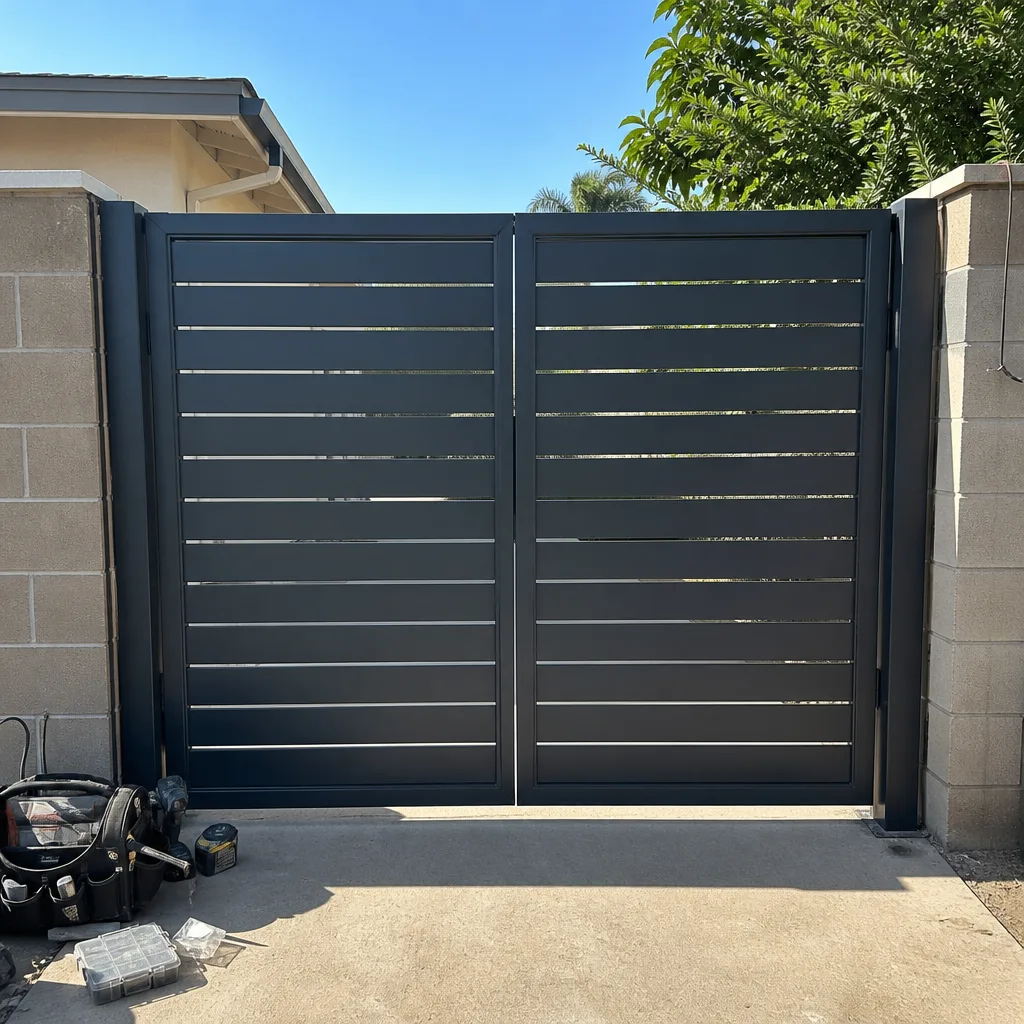 After
After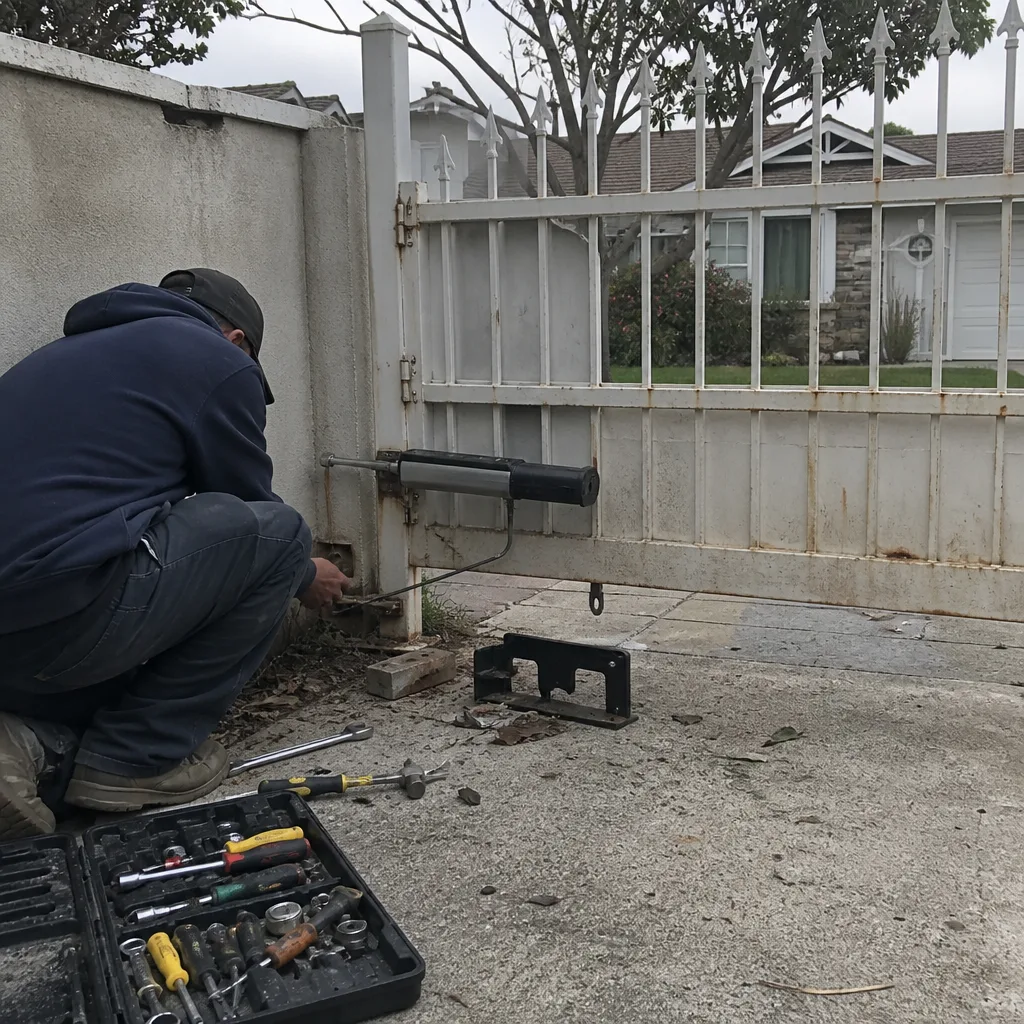 Before
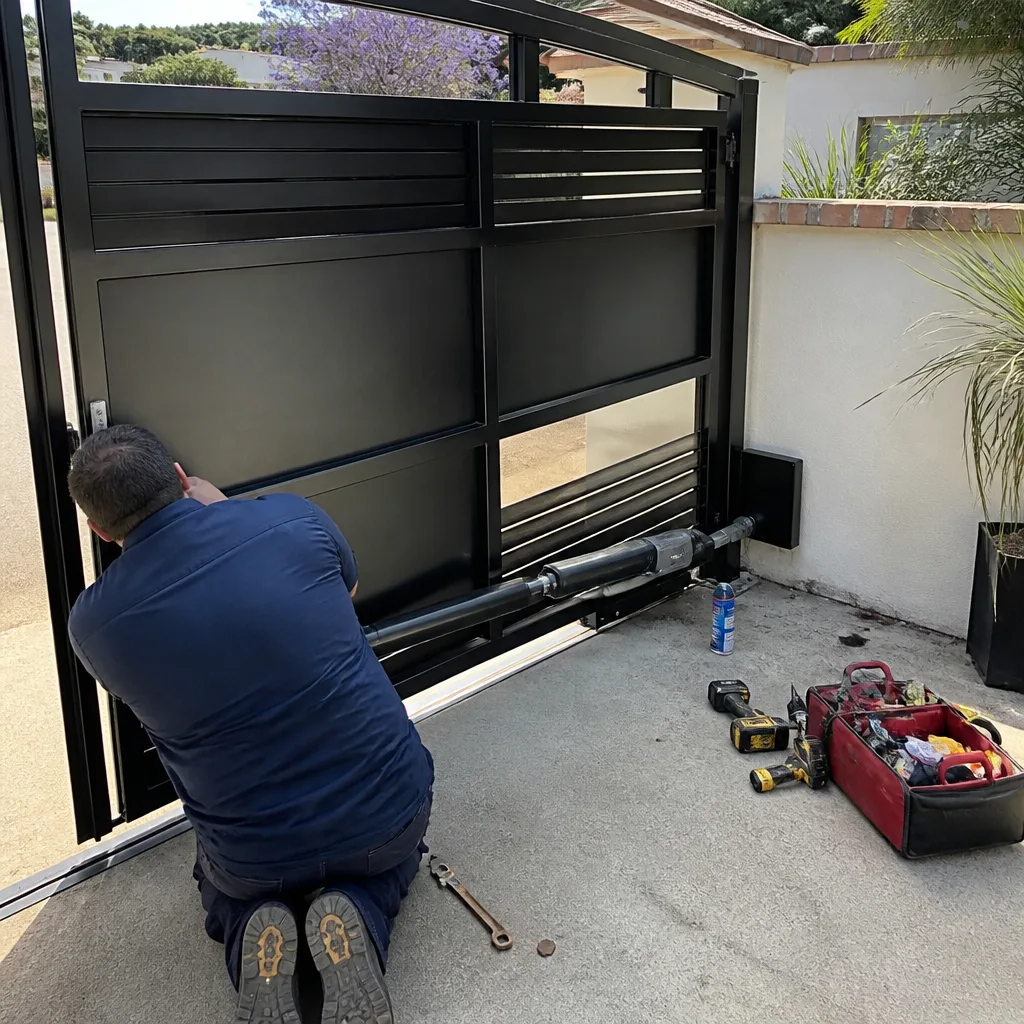 After
After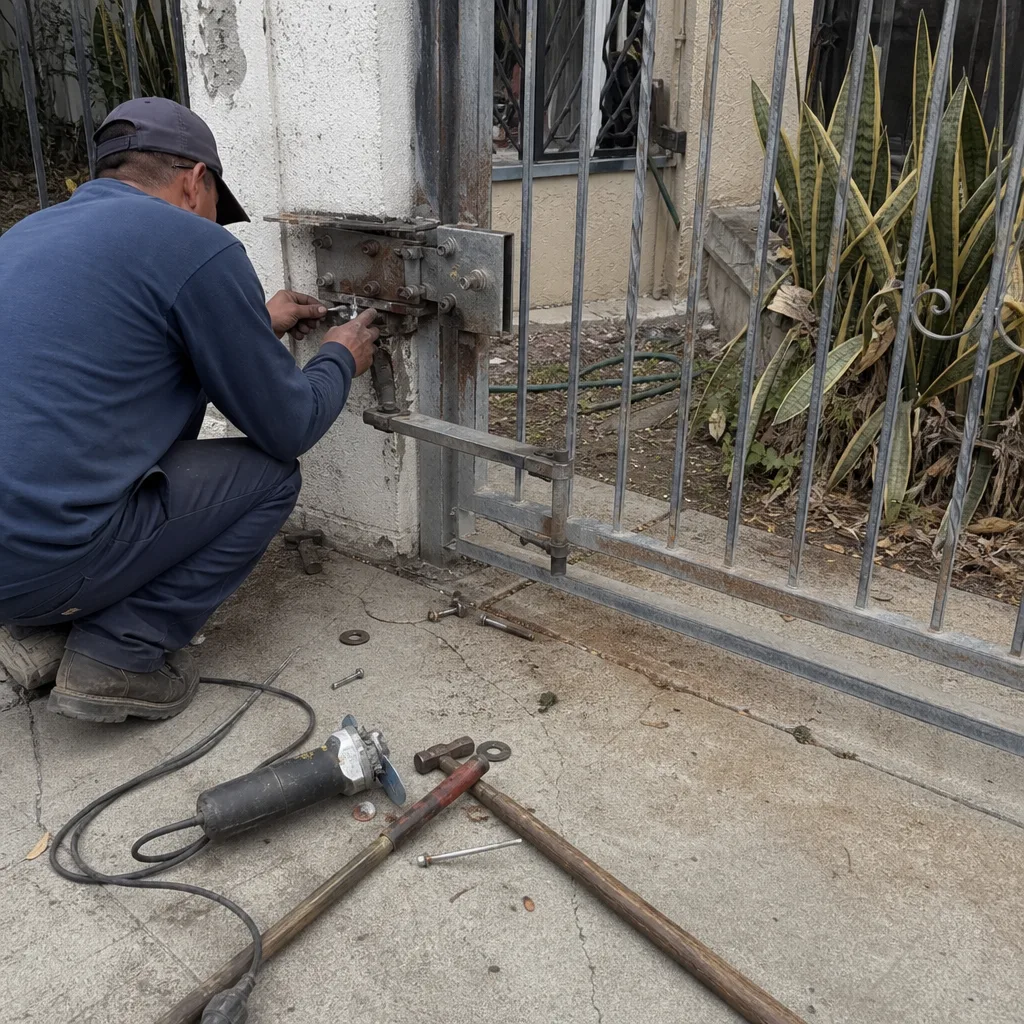 Before
 After
AfterWhen to Call a Professional
Call us when you find racking you can’t explain, a hinge with visible play, any grinding sound from inside the operator housing, a failed UL-325 safety test, or finish rust that has broken through the powder-coat. These are not homeowner repairs. A racked gate needs to come off its hinges and be re-squared; a worn gearbox needs a technician who knows the internals of that specific brand. What starts as a $200 hinge replacement becomes an $800 operator replacement when it’s ignored for a year. Portcullis Gate Repair Los Angeles offers free estimates throughout Los Angeles. Call (213) 322-0062 and you’ll get a live person, not a voicemail tree, and a written price before any work begins.
Frequently Asked Questions
A basic annual gate inspection in Los Angeles typically runs between $95 and $175, depending on whether it’s a swing or slide gate and whether it includes a full sensor test. Lubrication-only service calls usually run $75 to $120. A comprehensive annual maintenance agreement for an automatic gate, which includes two visits per year, lubrication, sensor testing, and a written inspection report, generally costs between $250 and $450 annually. Call (213) 322-0062 for a written estimate on your specific gate.
Chain drives and hinges should be lubricated every three months in Los Angeles. Our dry climate means lubricant evaporates or dries faster than in humid regions, and dust accumulation happens faster too. Screw drives need grease every six months. Slide gate tracks and wheels should never be lubricated at all.
Yes. The photo eye test and contact edge test described above are safe for a homeowner to perform without tools, as long as you keep your hands away from pinch points. Block the photo eye with cardboard and attempt to close the gate; the gate should refuse. Press the contact edge while the gate closes; it should reverse. Any failure means the gate is unsafe to operate automatically until repaired.
That’s almost always thermal overload. On days when temperatures pass 100 degrees, especially in the San Fernando Valley or the Inland Empire, the operator’s internal temperature can exceed its rated threshold and trigger a shutdown. It resets once it cools down. Repeated thermal trips degrade the capacitor and shorten the motor’s life, so it’s worth addressing with shade or operator relocating.
Yes, even small ones. Most Los Angeles gate failures after seismic events are not from visible damage but from post movement: the soil under one post settles or shifts by a quarter inch, the post leans slightly, and the gate starts binding. Check for racking and post movement after any earthquake you can feel. The damage is almost always repairable by re-bedding the post and resetting the gate.
A full gate installation quote should include the gate fabrication or purchase, post setting with concrete, hinge and latch hardware, the operator unit, safety devices for UL-325 compliance, wiring, and labor, all summarized as a written price before work begins. For details, see our gate installation in Los Angeles page. Quotes are free.
The Bottom Line
A gate in Los Angeles fails faster than the same gate would in a milder climate, and it fails from different causes: UV-chewed finishes, dust-loaded drive components, and soil movement under posts. The monthly, quarterly, and annual cadence in this guide catches those specific failure modes at the stage where maintenance still costs less than repair. For more guides & resources, visit our blog. The single most important habit is consistency: ten minutes a month and an hour a year will keep most gates running for a decade without a major repair. When something does need a technician’s hands, get the price in writing before the work starts. That’s not a special service; it’s the way every gate repair should work in Los Angeles.
Written by Dean Prescott, Owner at Portcullis Gate Repair Los Angeles, serving Los Angeles since 2008.